
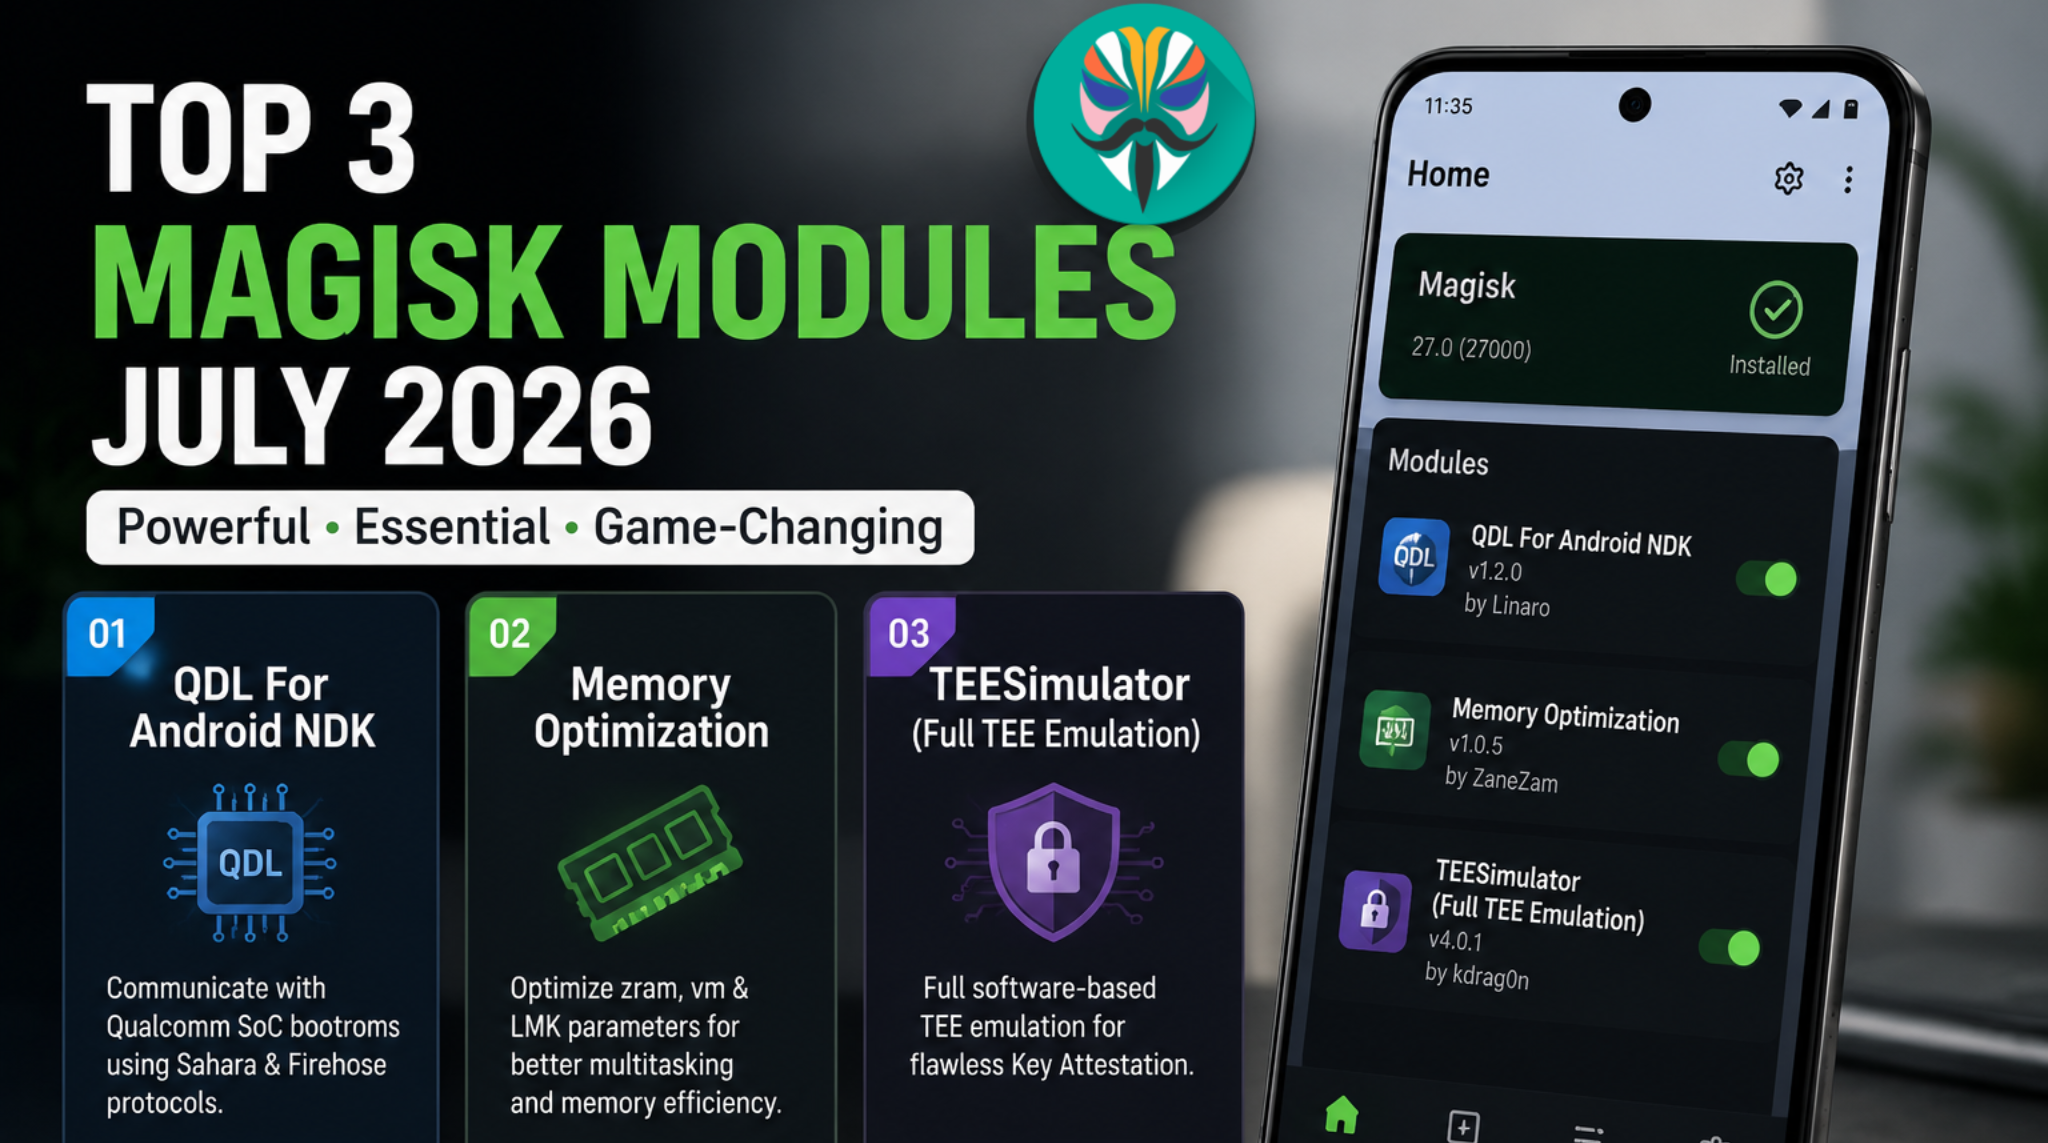
As an Android enthusiast, I am constantly on the lookout for the latest and greatest modifications that can truly push the capabilities of our smartphones to the next level. Welcome back to Techynoob! This July 2026, the developer community has delivered some incredible additions. Whether you are looking to recover a seemingly lifeless device, dramatically improve your system's memory performance, or simulate a trusted execution environment for seamless key attestation, this month's top picks have you absolutely covered.
Today, I am going to walk you through three must-have system modules, share my personal experiences with them, and guide you on how to install them safely on your device. Let's dive deeply into these three incredible additions to the Android customization community.
Watch the full tutorial here on our Youtube channel:
1. QDL For Android NDK
What It Is: Qualcomm Download (QDL) is a powerful tool designed to communicate with Qualcomm System-On-a-Chip bootroms to install or execute code. Originally developed by Linaro as an open-source tool for Linux, it implements the Qualcomm Sahara and Firehose protocols. This specific module brings a static binary build for Android multi-architecture targets built by the NDK. Essentially, it allows you to program or restore (unbrick) MSM-based devices directly from your smartphone.
“Why I use this module daily...” As someone who frequently tests experimental software and custom ROMs, I occasionally run into situations where a device gets soft-bricked. Having QDL right on my primary daily driver means I effectively carry a portable rescue station in my pocket. If a secondary device gets stuck in EDL (Emergency Download) mode, I can simply connect the two phones via a Type-C to Type-C cable and flash the necessary rawprogram XML files to restore the firmware, completely bypassing the need for a bulky laptop.
“Potential bugs and how I fixed them on my device...” Initially, I faced a minor issue where the QDL binary would not recognize the connected target device, throwing a "permission denied" error in the terminal. I fixed this by ensuring I was running my terminal emulator with proper root privileges (by typing su and granting access before running the QDL commands) and double-checking that my OTG cable was properly seated.
2. Memory Optimization
What It Is: Modern smartphones come with plenty of RAM, but the operating system's default memory management can sometimes be overly aggressive, prematurely closing background applications. This Memory Optimization module achieves more efficient memory usage by deeply adjusting system parameters. It utilizes automated shell commands to dynamically modify the zram size, tweak virtual memory (VM) parameters, and optimize Low Memory Killer (LMK) settings to improve overall usage efficiency.
“Battery impact and performance analysis...” After running this module for several weeks, the performance analysis is incredibly positive. Multitasking is noticeably smoother, and heavy applications I left in the background hours ago remain exactly where I left them. I highly recommend using this in conjunction with the LSPosed module AppRetention to achieve the absolute best results. Surprisingly, the battery impact has been neutral, if not slightly positive. Because the CPU does not have to expend energy constantly relaunching heavy applications from scratch, my idle drain is very stable, and my screen-on time has remained impressively consistent.
“Potential bugs and how I fixed them on my device...” During the first few days of use, I noticed that the automated zram adjustment was set slightly too high for my specific usage, causing a minor UI stutter when transitioning out of heavy 3D games. I fixed this by navigating to the module's configuration file in my file manager and manually lowering the zram allocation limit. Finding that perfect sweet spot for my device's specific hardware completely eliminated the stutter.
3. TEESimulator – A Full TEE Emulation Framework
What It Is: If you keep up with the Android customization scene, you know how important secure device attestation is for everyday usability. TEESimulator is a system module designed to create a complete, software-based simulation of a hardware-backed Trusted Execution Environment (TEE) for Key Attestation. It is designed to flawlessly replace older, less reliable solutions like TrickyStore, TrickyStoreOSS, and their various forks.
“Why I use this module daily...” Maintaining the integrity of the device environment is crucial when you want to run certain enterprise software or secure tools on a customized phone. TEESimulator ensures that my device environment remains compliant with standard software checks. It allows me to enjoy the limitless freedom of a customized, modified operating system without sacrificing app compatibility or system stability.
“Potential bugs and how I fixed them on my device...” When I first installed the framework, the emulation was not initializing properly. I quickly realized that TEESimulator requires a valid keybox.xml file placed in the correct directory to function correctly. I fixed this by manually creating the /data/adb/tricky_store/ directory, placing my configuration file inside, and rebooting. Since then, the module has run flawlessly in the background.
Step-by-Step Installation Guide
Installing these modules is a straightforward process, but it requires careful execution. Follow these exact steps to get everything up and running.
Step 1: Prepare Your Files Start by ensuring all files are fully downloaded from their official repositories. Open your file manager and verify that the QDL For Android NDK.zip, the Memory optimization.zip, and the TEESimulator framework.zip are resting securely in your internal storage.
Step 2: Open Magisk Manager Launch your Magisk Manager application. (Note: These modules are also highly compatible with KernelSU and APatch, so you can use those managers if they are your preferred ecosystem). Navigate to the "Modules" tab at the bottom of the screen.
Step 3: Install the First Module Select the "Install from storage" button. Navigate to your internal storage, locate the downloaded files, and select the QDL For Android NDK module first. Watch the terminal output and verify that the script executes successfully.
Step 4: Flash the Remaining Modules Instead of rebooting right away, tap the back arrow. Select "Install from storage" again and load up the Memory Optimization zip file, flashing it right over. Finally, repeat this exact process for the TEESimulator module. Always verify that each installation screen finishes without any red error text.
Step 5: Reboot Your Device With all three module installations completed successfully inside the manager, it is now time to restart the device so the deep system-level changes can take effect. Go ahead and hit the reboot button at the bottom right corner of the screen.
Final Thoughts
These three modifications have fundamentally improved how I interact with my smartphone this month. From carrying a reliable recovery tool in my pocket to experiencing flawless multitasking and secure environment emulation, the Android developer space continues to impress.
If you found this guide helpful, be sure to share your thoughts in the comments below. Let me know which of these three is your favorite, and stay tuned to Techynoob for more in-depth tutorials and reviews!
Subscribe to our YouTube channel for daily Android tips, tricks, and tutorials: TechyNoob


Discussion (0)
Post a Comment
No comments yet. Be the first to share your thoughts!