
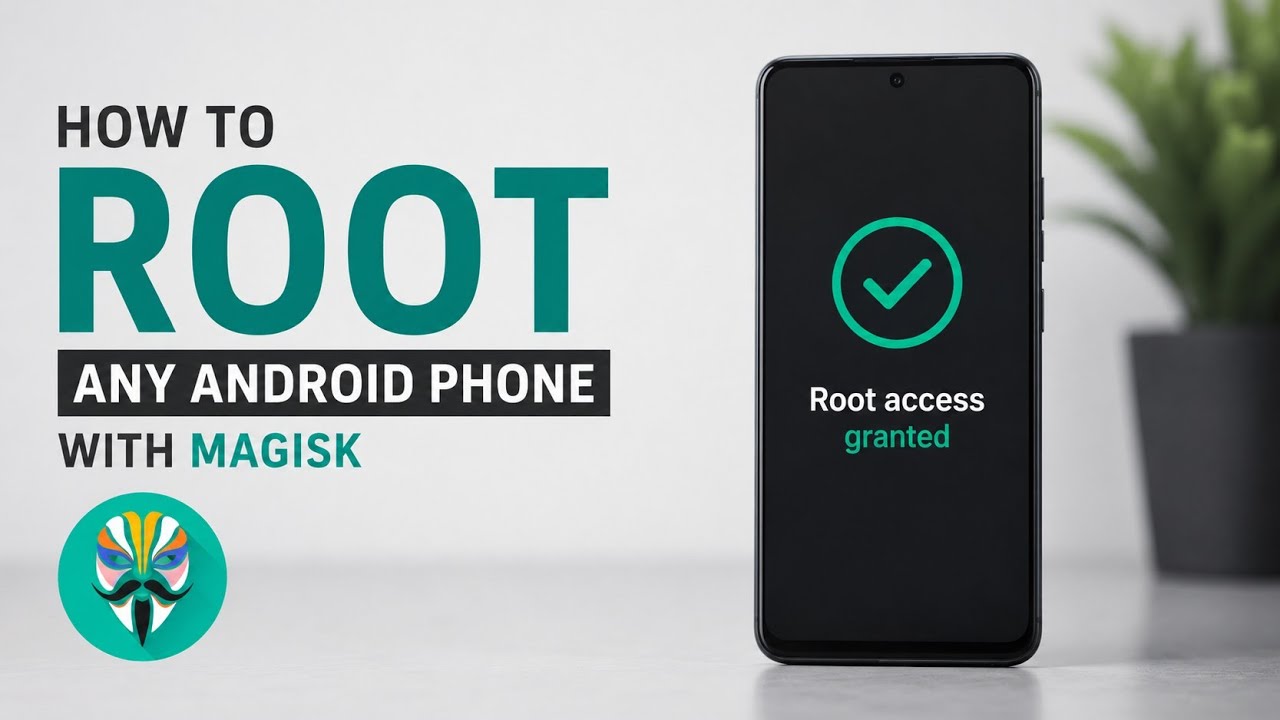
If you have ever wanted absolute control over your Android device, you are likely no stranger to the concept of rooting. Here in 2026, with the rollout of Android 16, the Android ecosystem has evolved significantly, but the desire to push our hardware to its absolute limits remains exactly the same. Having superuser access allows you to tweak system files, run powerful modules, and completely overhaul the user experience to match your precise needs.
Today, we are going to dive deep into the most reliable and modern way to achieve systemless root access using the latest Magisk version 30.7. Whether you are holding a brand-new flagship or breathing new life into a trusty older device like my Redmi Note 7 Pro running the MatrixxOS custom ROM, this guide will walk you through the entire process.
Prerequisites Before We Begin
Before making any modifications to your system, there is one non-negotiable prerequisite: an unlocked bootloader.
Unlocking your bootloader is the gateway that allows you to flash custom images to your device. The process varies wildly depending on your manufacturer—Google Pixel devices require a few fastboot commands, while Xiaomi or Motorola devices might require a specialized unlock tool and a waiting period. If your bootloader is still locked, you will need to look up a specific unlocking guide for your exact phone model, complete that process, and then return here.
Watch the full tutorial here on our Youtube channel: 🚀
Essential Files to Download:
- The Latest Magisk APK: Download Magisk v30.7 directly from the official GitHub repository.
- Your Current ROM Zip File: You need the exact firmware or custom ROM that is currently running on your phone.
- The Boot Image: Extract the ROM zip file on your computer or phone, and locate the boot.img file. Note that for some newer devices launching with recent Android versions, this might be named init_boot.img.
Method 1: The Boot Image Patching Method (Recommended)
This is the most universal method for rooting modern Android devices, especially if you do not have a custom recovery installed.
Step 1: Install the Magisk App
Transfer the Magisk v30.7 APK to your phone and install it like any standard Android application.
Step 2: Patch the Boot Image
Open the Magisk app. Right at the top, you will see an "Install" button. Tap it, and from the menu, choose the "Select and Patch a File" option. This will open your phone's file manager. Navigate to the folder where you saved your extracted boot.img or init_boot.img and select it. Tap "Let's Go," and Magisk will work its magic, downloading necessary dependencies and patching the file. Once it displays "All Done," the patched image will be saved directly to your phone's download folder.
Step 3: Flash the Patched Image
If you do not have a custom recovery, you will need to move this newly patched boot image to your computer, reboot your phone into Fastboot mode, and use standard ADB and Fastboot commands to flash it to your boot partition (e.g., fastboot flash boot patched_boot.img).
If you do have TWRP or another custom recovery installed, simply boot into recovery, tap "Install," switch the mode to "Install Image," select your patched boot file, choose the "Boot" partition, and swipe to flash.
Method 2: The Custom Recovery Zip Method
If you already have a custom recovery like TWRP fully functional on your device, there is an alternative method that some users find quicker.
Because Magisk is cleverly packaged, the standard APK file doubles as a flashable zip file. All you need to do is open your file manager, locate the Magisk .apk file, and simply rename the extension to .zip.
Boot your device into your custom recovery, tap on the "Install" section, locate the renamed Magisk zip file, and swipe to flash it. The custom recovery will push the necessary binaries directly into your system. Once the flash is complete, reboot your device, and you are good to go.
Post-Installation and Setup
Once your phone boots back up into the Android operating system, open the Magisk app once more. At the top of the screen, you should now see "Installed: v30.7". Congratulations, your device is officially rooted!
Your first stop should be the settings menu (the gear icon in the top right corner). Here, you can enable Zygisk, a powerful feature that allows Magisk to run code within the processes of Android applications. This is crucial for maintaining compatibility with various apps that might otherwise refuse to run on a modified device. You can use the DenyList feature alongside Zygisk to effectively hide your superuser status from strict applications, ensuring your daily driver remains fully functional.
My Experience with Magisk in 2026
As someone who constantly tinkers with Android hardware, rooting is usually the first thing I do when I get a new device. Here is a look at how it actually impacts day-to-day usage.
Why I Use Root Modules Daily
Having root access isn't just about the novelty of administration rights; it is about utility. I rely on Magisk modules daily to refine my audio experience with advanced system-wide equalizers that simply aren't possible without modifying root directories. Furthermore, system UI tweaking modules allow me to change granular aspects of my status bar and gesture navigation, tailoring the Android 16 interface exactly to my workflow.
Battery Impact and Performance Analysis
A common misconception is that rooting inherently drains your battery. In my extensive testing, having Magisk installed has absolutely zero negative impact on standby time or screen-on time. The Magisk daemon is incredibly lightweight. However, the modules you choose to install can change this equation. I strictly avoid heavy performance-governor tweaks unless I am gaming, as poorly optimized modules are usually the real culprits behind unexpected battery drain. If you stick to UI tweaks and basic utilities, your battery life will remain identical to stock firmware.
Potential Bugs and How I Fixed Them
The Android modding scene is never without its occasional hiccups. Recently, after updating a specific module, my Redmi Note 7 Pro got stuck in a bootloop—the device would restart continuously without reaching the lock screen.
Instead of panicking or wiping all my data, I simply booted into TWRP recovery and used the built-in file manager to navigate to data/adb/modules. I located the folder of the recently updated module, deleted it, and rebooted. The phone started up perfectly. It is a simple fix, but it highlights why having a custom recovery alongside Magisk is an incredibly powerful safety net. Additionally, passing Google's Play Integrity checks can sometimes be a cat-and-mouse game after major Android updates, but keeping your Zygisk modules updated usually resolves these compatibility flags quickly.
Rooting in 2026 is safer, cleaner, and more modular than it has ever been. By utilizing systemless methods, we can push the boundaries of our hardware while preserving the core integrity of the operating system. Take your time, read the instructions carefully, and enjoy your newly unlocked Android experience!
Subscribe to our YouTube channel for daily Android tips, tricks, and tutorials: TechyNoob
Discussion (0)
Post a Comment
No comments yet. Be the first to share your thoughts!