
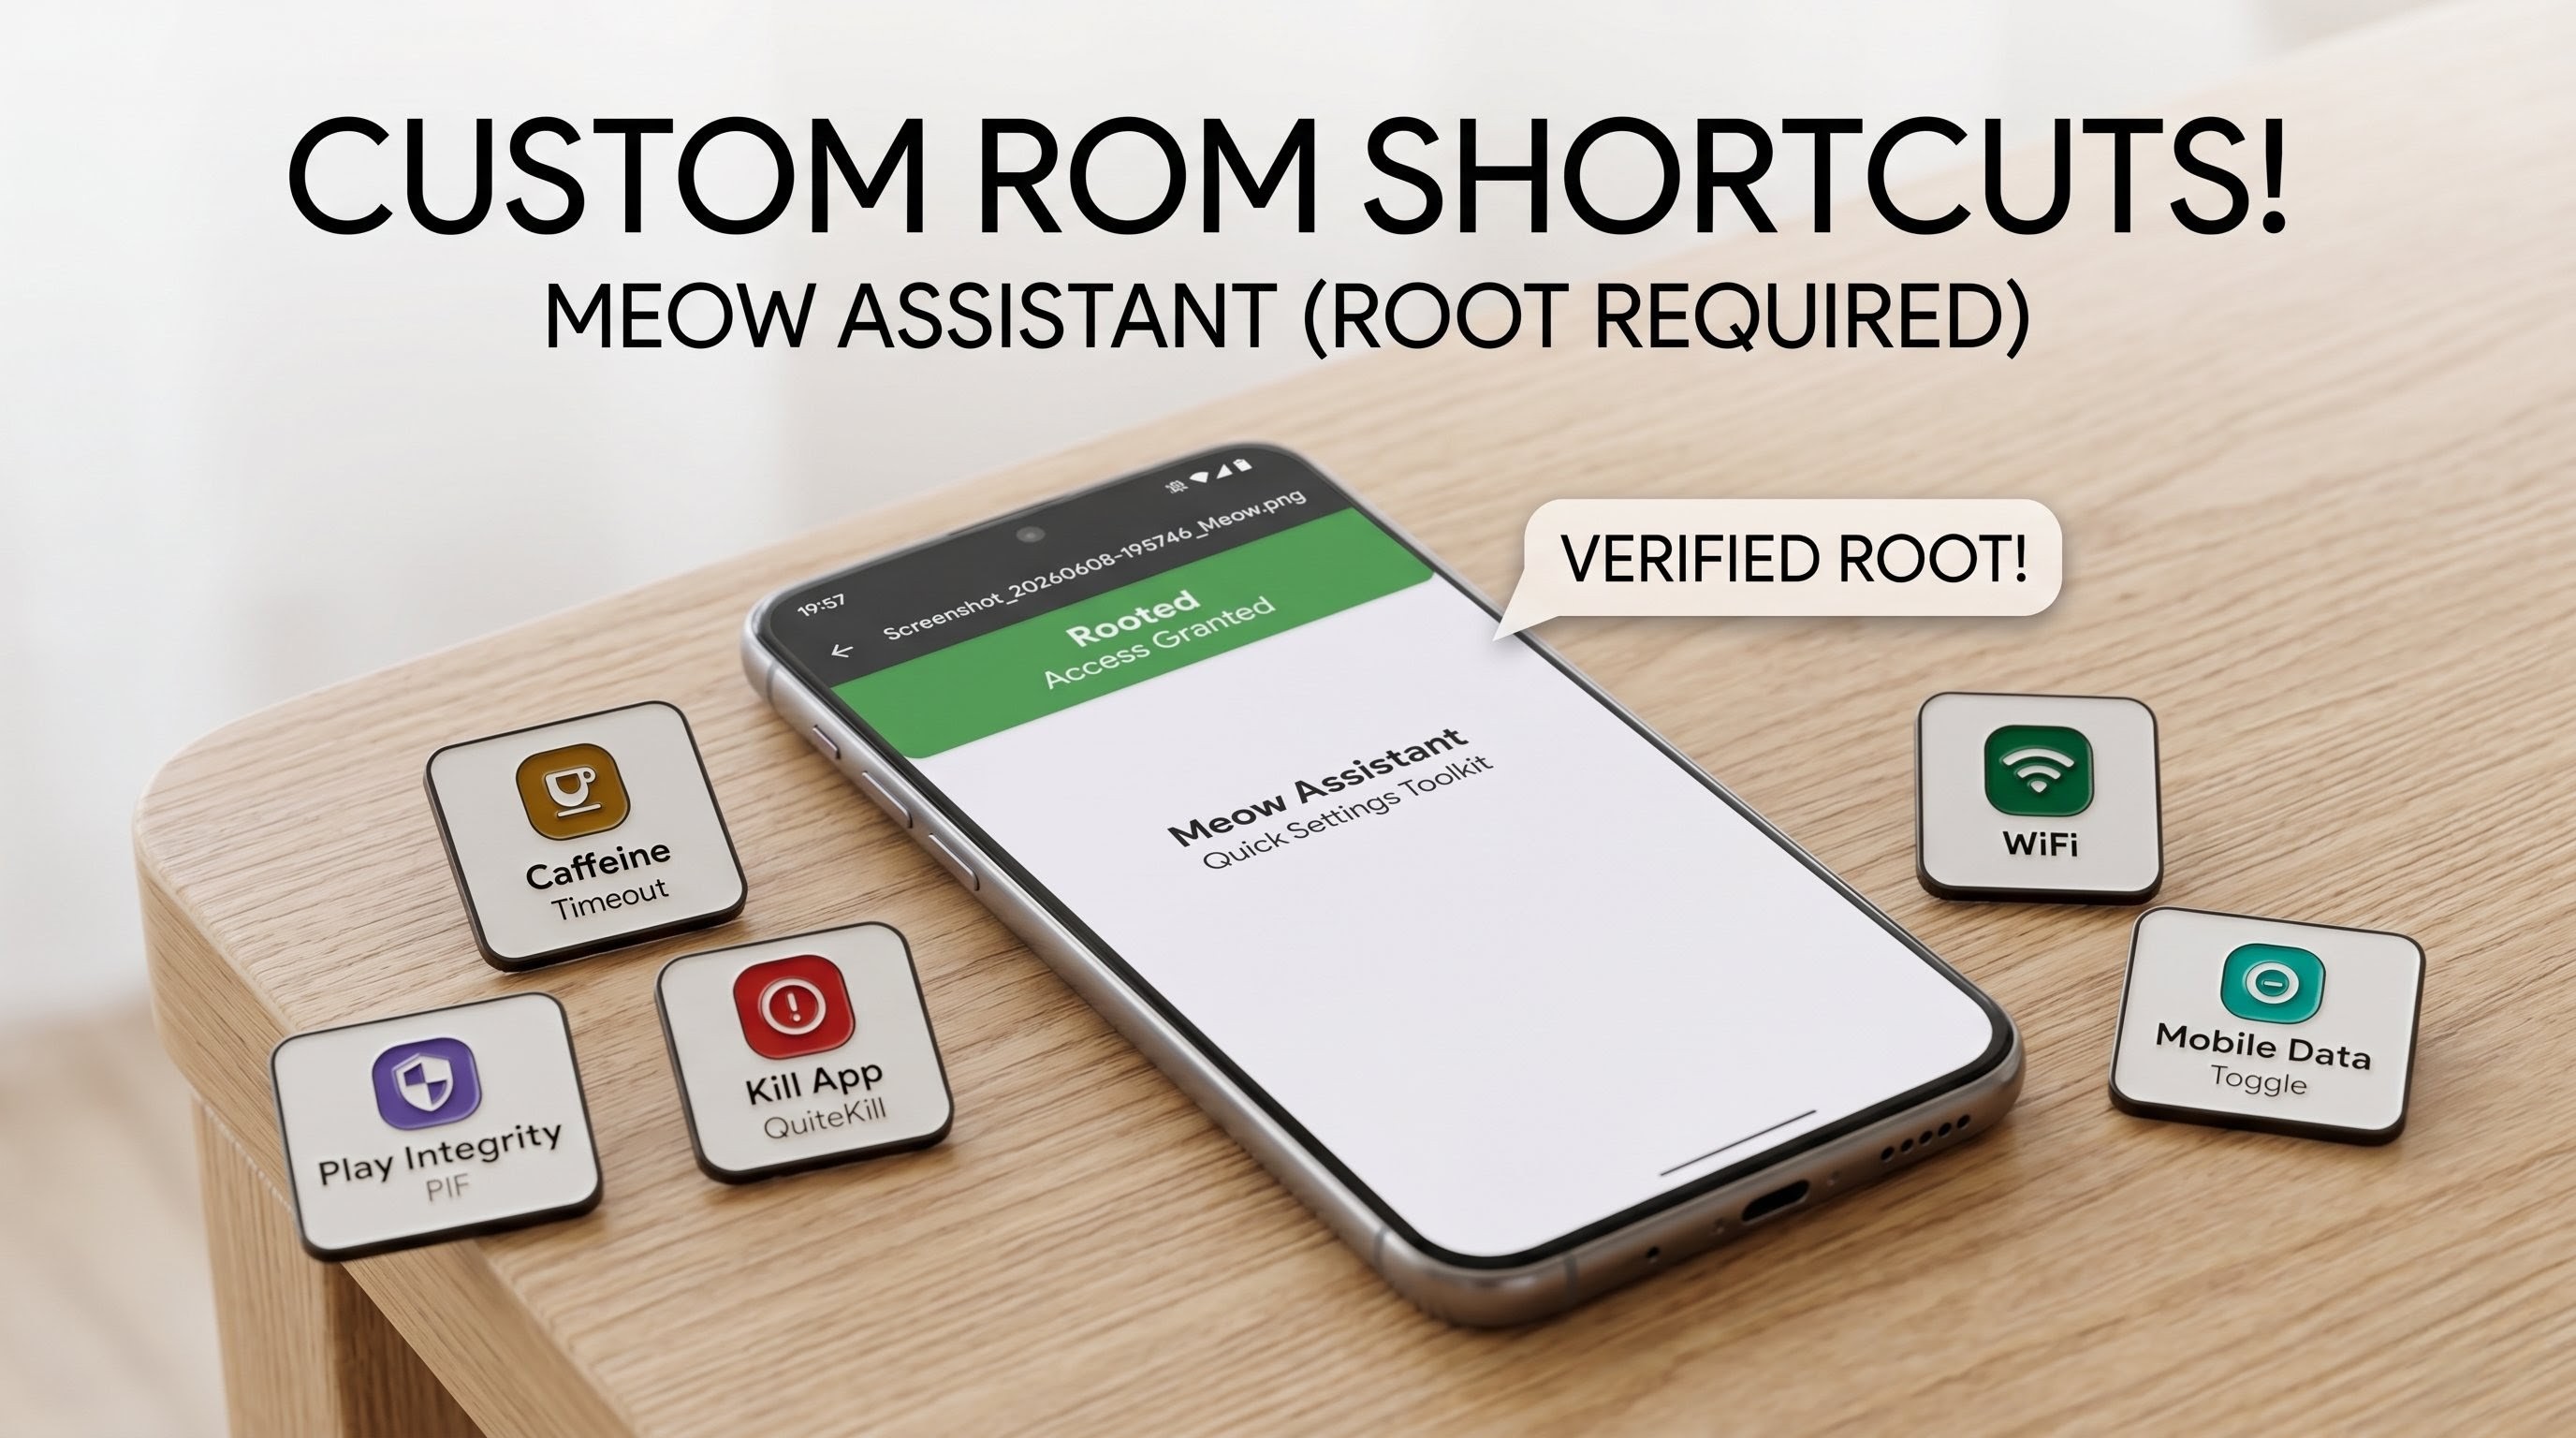
Enhancing Your Android Custom ROM with Meow Assistant: Custom Quick Settings and Root Shortcuts
Modern Android custom ROMs offer a breath of fresh air with their clean interfaces, enhanced privacy options, and performance optimizations. However, a common drawback of minimalist or stripped-down ROMs is the omission of essential features that many users rely on daily. For instance, several modern custom builds consolidate independent Wi-Fi and Mobile Data switches into a unified "Internet" panel, requiring extra taps for a simple toggle. Others completely lack native utilities like Caffeine mode or instant root-level shortcuts.
To solve this exact issue, Meow Assistant was created. Originally developed as a personal toolkit to bridge the feature gap on a daily-driver custom ROM, this lightweight application brings back classic Quick Settings tiles and integrates robust, root-powered shortcuts. For power users looking to streamline their Android experience, here is a complete breakdown of what Meow Assistant does and how to get it running on your device.
Why Use Meow Assistant?
When a custom operating system strips away micro-features to maintain a minimal footprint, user convenience can take a hit. Navigating deep into the system settings just to keep the screen awake or force-closing a malfunctioning application breaks the fluid workflow of Android.
Meow Assistant functions as an all-in-one Quick Settings toolkit. It acts as a bridge, giving you immediate access to system toggles and advanced developer utilities right from your notification shade. By combining standard UI toggles with deep root-level commands, it eliminates the need to install multiple single-purpose modules or apps.
Watch the full tutorial here on our Youtube channel:
Key Features & Capabilities
The toolkit is divided into two primary categories: accessible system tiles and advanced root utilities.
1. Dedicated Quick Settings Tiles
- Independent Wi-Fi & Mobile Data Toggles: Separates the combined internet panel into distinct, one-tap tiles for quick network management.
- Caffeine Mode: Prevents the display from turning off or sleeping during long tasks, reading, or compilation processes.
- Instant Screenshot: A dedicated tile to capture the screen without struggling with physical hardware button combinations.
- Lock Device: Instantly puts the device to sleep and locks the screen directly from the quick settings panel.
- Open WebUI: Provides an immediate shortcut to launch web-based interfaces or self-hosted dashboards directly from your phone.
2. Advanced Root Utilities
For devices with superuser access, Meow Assistant unlocks deeper control over system processes and security frameworks:
- Kill App: Instantly force-stops the application currently running in the foreground to free up memory or stop a frozen app.
- Kill GMS: Restarts Google Play Services (GMS) instantly, which is highly beneficial when debugging background sync issues or applying system patches.
- Play Integrity Actions & Update Keybox: Built-in shortcuts to manage and maintain device integrity states, facilitating smoother passing of safety nets.
- Import HMA & Hide Lineage: Helps advanced users manage application masking profiles (like Hide My Applist) and alter custom ROM identifiers for enhanced application compatibility.
Prerequisites for Installation
To utilize the full potential of Meow Assistant, your device should meet the following criteria:
- An Android device running a custom ROM (such as LineageOS, Pixel Experience, or AOSP-based builds).
- Root Access: While some basic tiles may function on standard setups, advanced utilities require superuser management via Magisk, KernelSU, or APatch.
- A file manager app with permission to install packages from unknown sources.
Step-by-Step Installation and Setup Guide
Follow these steps to manually install and configure the application safely on your device:
Step 1: Locate the Installation Package
Download the latest standalone Meow Assistant APK package to your local storage. Open your preferred Android File Manager app and navigate to your Downloads directory. Locate the file named Meow Assistant with the .apk extension.
Step 2: Grant Installation Permissions
If you haven't done so previously, your file manager will require permission to install applications outside of the official storefront. Tap the APK file; if prompted by a security dialogue, select Settings and enable the toggle for Allow from this source.
Step 3: Complete the Installation
Return to the file manager screen and tap the APK file again. Select Install on the system prompt. The application package is highly optimized and lightweight, meaning the installation process will conclude within a few seconds. Once finished, tap Open or find the Meow Assistant icon in your app drawer.
Step 4: Authorize Superuser Rights
Upon launching the application for the first time, the built-in system interface will check your device's root status. If your device is rooted, a prompt from your root manager (Magisk, KernelSU, or APatch) will appear asking to grant superuser permissions to Meow Assistant. Select Grant or Allow. The app interface will refresh to show a green status indicator confirming that "Rooted Access Granted."
Step 5: Add the Tiles to Your Status Bar
To use your new toggles, swipe down twice from the top of your screen to fully expand the Quick Settings panel. Tap the Edit (pencil) icon. Scroll down to the unassigned tiles section to find the new Meow Assistant components (such as separate Wi-Fi, Mobile Data, or Caffeine). Drag and drop your preferred tiles up into your active panel layout, then save your changes.
Conclusion
Meow Assistant offers a practical solution to a common software oversight in modern custom distributions. By restoring independent connectivity tiles and giving power users immediate access to advanced root shortcuts, it simplifies device management significantly. If you run a clean, lightweight ROM but miss the robust control of a fully-featured interface, implementing this utility is an excellent way to customize your workflow.
Subscribe to our YouTube channel for daily Android tips, tricks, and tutorials: TechyNoob
Discussion (0)
Post a Comment
No comments yet. Be the first to share your thoughts!