
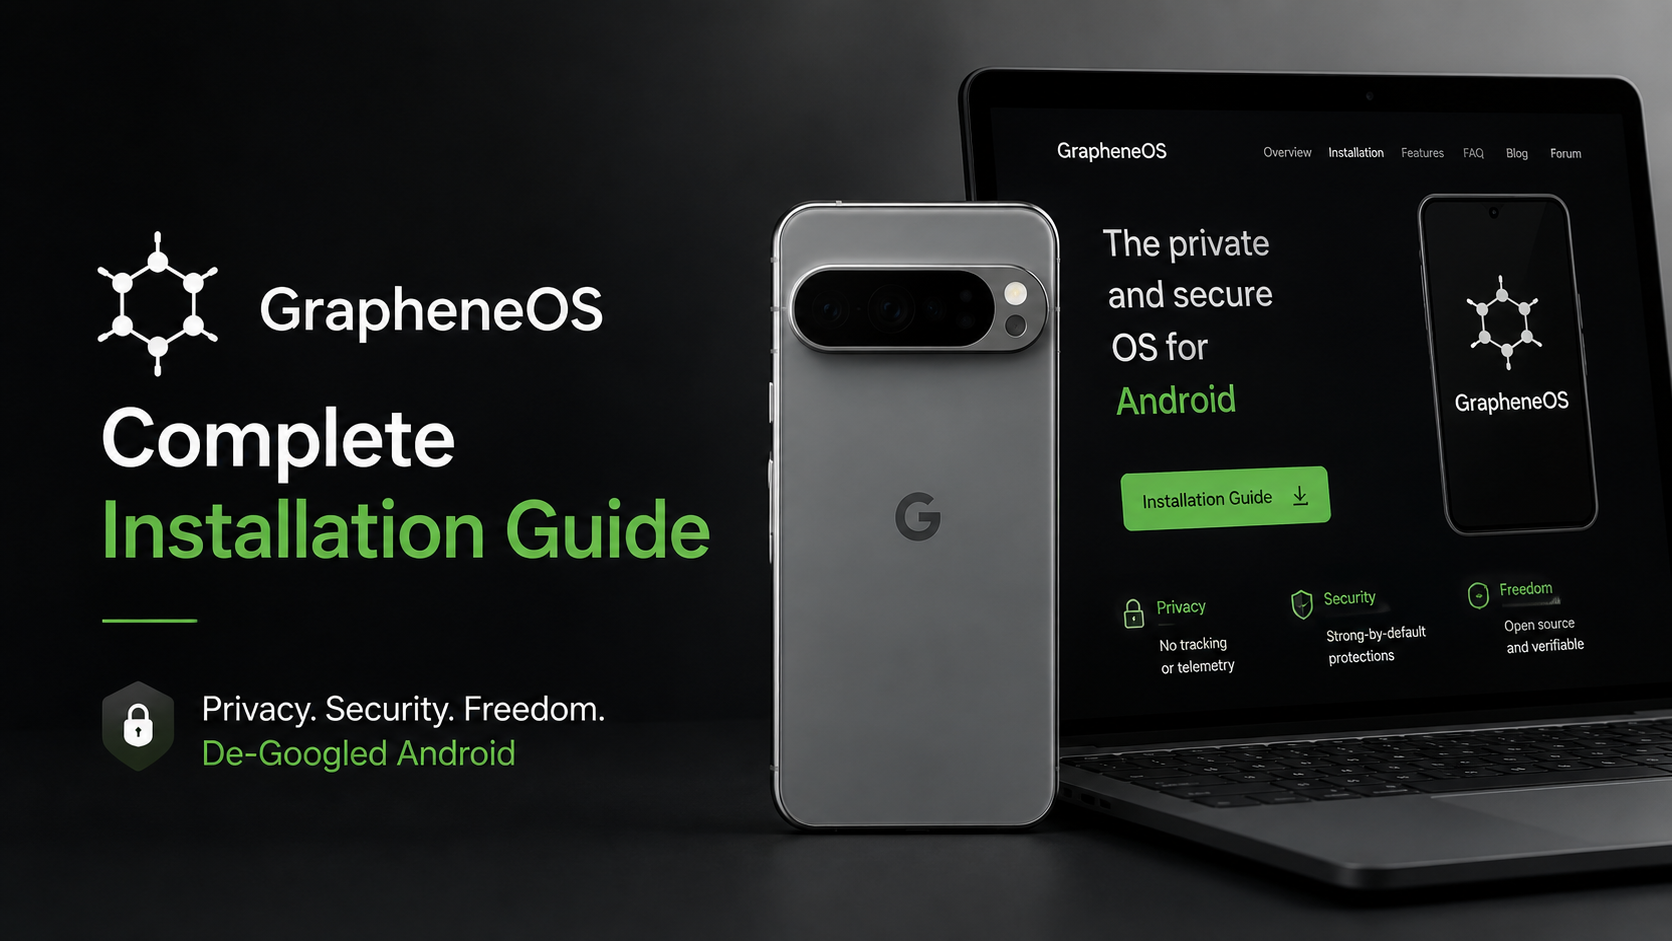
If you’ve been looking into GrapheneOS, chances are privacy and security are probably higher on your list than having every Google service enabled by default.
GrapheneOS is a privacy and security-focused mobile operating system designed for Google Pixel devices. It takes the Android foundation and adds additional hardening and privacy controls while allowing users to decide which services and permissions they actually want to use.
In this guide, I’m installing GrapheneOS on a Google Pixel 6. At the beginning of the process, the phone is running stock Android 17 QPR1 Beta 9, and the bootloader has already been unlocked. That means I can skip the initial unlocking stage and go directly into the installation.
If you’re completely new to custom operating systems, don’t worry—the official GrapheneOS Web Installer makes the process considerably easier than manually flashing every individual image.
Before You Start
There are a couple of things you should understand before installing any custom operating system.
First, back up your important data.
Unlocking the bootloader and installing GrapheneOS involves wiping the device. Anything stored locally that isn’t backed up can be lost.
You’ll also need:
- A compatible Google Pixel device
- A USB-C cable
- A computer
- A supported browser
- An unlocked bootloader
- A stable internet connection
GrapheneOS provides both a WebUSB-based installation method and a manual command-line process. For this walkthrough, I’m using the Web Installer because it handles the flashing process directly through the browser.
Video:
Getting the Pixel Into Bootloader Mode
The first practical step is getting the Pixel into its bootloader.
You can restart the phone and hold Volume Down while it starts.
Alternatively, with the phone completely powered off, press and hold Power + Volume Down together until the fastboot interface appears.
Once you’re there, connect the phone to your computer using a USB-C cable.
Using the Official GrapheneOS Web Installer
This is the part that makes the installation relatively straightforward.
Open the official GrapheneOS website and navigate to its Web Installer using a compatible browser such as Chrome or Chromium.
Because my Pixel 6 bootloader is already unlocked, I can skip the bootloader-unlocking section and move to obtaining the factory images.
The installer then asks the browser to establish a WebUSB connection with the phone. Select the Pixel from the device list and allow the connection.
The installer can then obtain the appropriate release for the device. The script demonstrates this process directly through the browser rather than manually downloading and extracting factory images.
Flashing GrapheneOS
Once the release is ready, click Flash Release.
This is where you should be patient.
The installer writes the operating system components to the phone and may reboot the device into fastboot several times while different components are flashed.
The script specifically warns against disconnecting the USB cable, pressing buttons or interfering with the phone while this process is running.
That’s one of those steps where doing less is actually better.
Leave the phone connected and let the installer finish.
Should You Lock the Bootloader?
After flashing, GrapheneOS presents the option to lock the bootloader.
For a normal long-term GrapheneOS installation, locking the bootloader is an important security step because it restores hardware-backed verified boot.
However, in my installation video I intentionally leave the bootloader unlocked.
The reason is simple: this particular installation is being used to test and experience GrapheneOS before completing the locking procedure in a separate video.
If you’re installing GrapheneOS as your everyday operating system rather than following this particular testing workflow, don’t automatically copy that decision.
First Boot
After flashing, select Start from the bootloader menu and press the Power button.
GrapheneOS then starts with its boot animation.
Because the bootloader remains unlocked in this particular installation, the familiar yellow bootloader warning appears during startup. The script then proceeds into the GrapheneOS setup wizard.
From there, you can configure the phone just like you would during a normal Android setup.
One of the things immediately noticeable is the clean initial environment. There isn’t a mandatory Google account sign-in during the initial setup, and the system gives the user more control over permissions and services.
Checking the Installation
Once the setup is complete, you can open Settings and visit About phone to verify the installed build.
In my video, the Pixel 6 is shown running GrapheneOS on top of the Android 17 base.
This is worth checking after any custom ROM installation. Before restoring all your applications and data, make sure the operating system has booted correctly and that the expected build is installed.
A Note About Google Apps
GrapheneOS doesn’t require you to use Google’s services in the same way as stock Pixel software.
If you need Google Play services for specific applications, GrapheneOS provides its own sandboxed Google Play installation approach. This allows users to decide whether they actually need Google’s services instead of having them integrated into the system with privileged access.
That flexibility is one of the reasons GrapheneOS attracts privacy-conscious users.
Is GrapheneOS Right for Everyone?
Probably not.
If you depend heavily on proprietary applications with strict device-integrity requirements, banking applications, DRM services or other software that expects a conventional stock Android environment, you should research compatibility before switching.
GrapheneOS is better suited to people who are willing to spend some time understanding permissions, profiles, application compatibility and privacy settings.
That’s also why I wouldn’t describe it simply as “better Android.”
It’s a different set of priorities.
Final Thoughts
Installing GrapheneOS on a Pixel is much less intimidating than it used to be, particularly when using the official Web Installer.
My Pixel 6 started this process on stock Android 17 QPR1 Beta 9, with its bootloader already unlocked, and the Web Installer handled the actual operating-system flashing.
The important part is not rushing through the process.
Back up your data, use a good cable, follow the official instructions and don’t disconnect the phone while it’s being flashed.
And if you’re planning to keep GrapheneOS permanently, understand the bootloader-locking step before treating the installation as finished.
Official resource: GrapheneOS Web Installer use the official GrapheneOS website for the current installation instructions.

Discussion (0)
Post a Comment
No comments yet. Be the first to share your thoughts!