
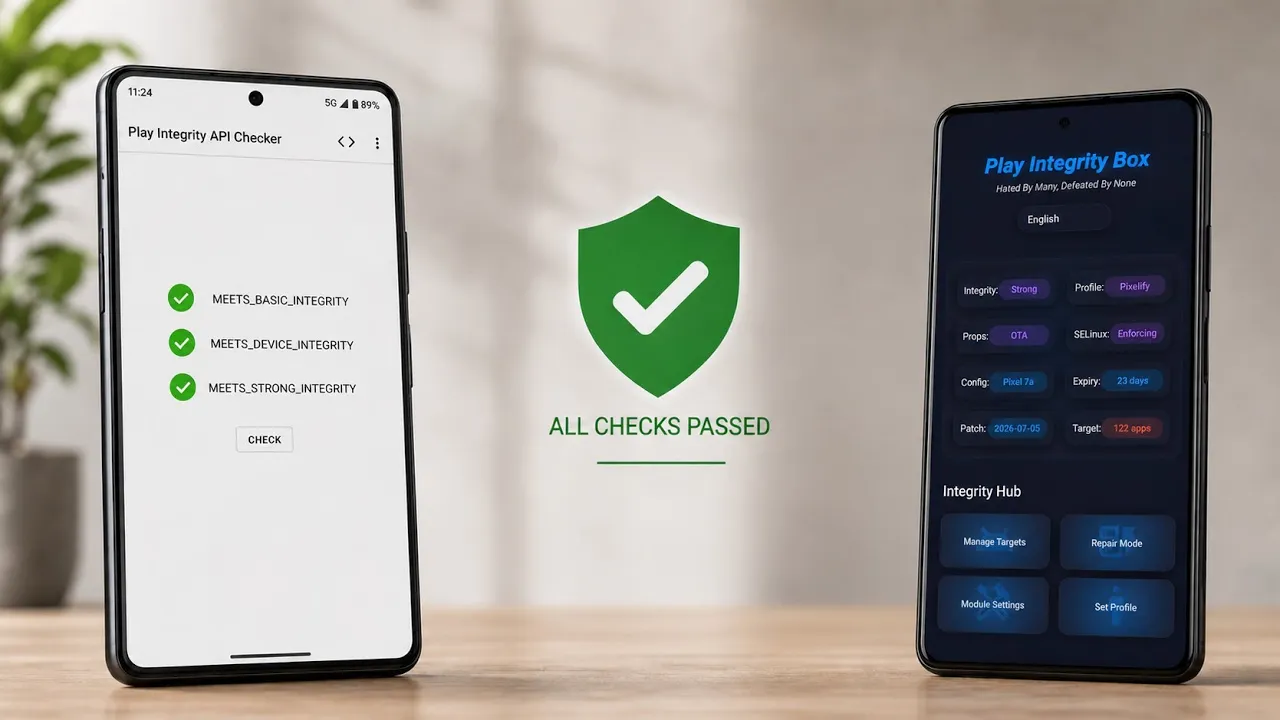
Rooting an Android phone gives you considerably more control over the operating system, but that flexibility can also introduce compatibility problems with applications that rely on Google’s device-integrity checks.
Banking applications, financial services and some games may check the device’s software environment before allowing certain features to work. A modified system, unlocked bootloader or root configuration can therefore result in an integrity failure or an uncertified Play Store status.
In this guide, I’m looking at a root configuration built around Integrity Box, Zygisk Assistant, NeoZygisk and Tricky Store, with SUSFS included as an optional component.
The goal demonstrated in the video is to configure a rooted Android device so that Google’s Play Integrity checks report successful results across Basic Integrity, Device Integrity and Strong Integrity.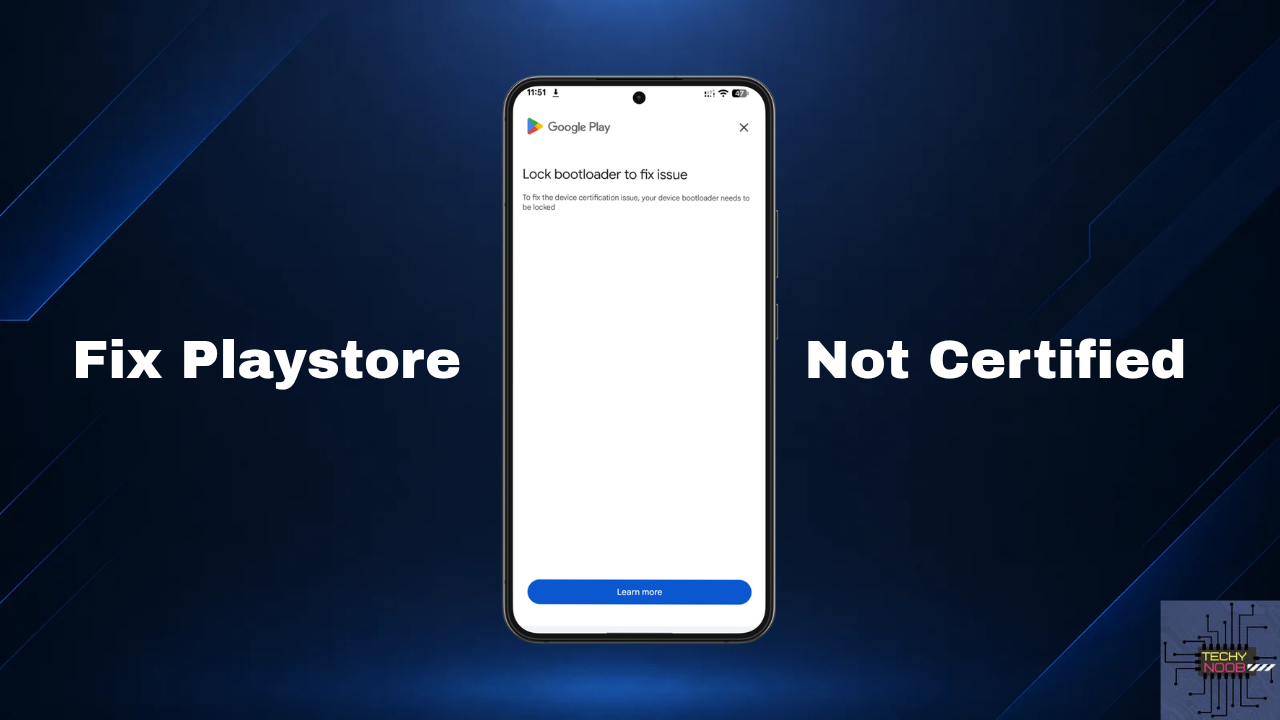
The Device Used in the Demonstration
To demonstrate the setup, the video uses a Google Pixel 6 running Android 17 QPR1 Beta 8.
The device is rooted with KernelSU, and before going through the configuration, the integrity verification test already shows passing results for Basic Integrity, Device Integrity and Strong Integrity.
It’s important to understand that a result demonstrated on one particular device and software configuration isn’t a guarantee that exactly the same result will be reproduced on every Android phone.
Play Integrity behaviour can change with Google’s services, Android builds, bootloader states, root configurations and application requirements.
What Modules Are Used?
The core setup demonstrated in the video consists of four modules:
- Integrity Box
- Zygisk Assistant
- NeoZygisk
- Tricky Store
The script states that these modules can be used with both KernelSU and Magisk.
The idea is that each component contributes to a different part of the overall configuration rather than relying on a single module to handle everything.
There is also SUSFS, which is installed on the demonstration device but described as optional.
If you’re using Magisk rather than KernelSU, the script recommends disabling Magisk’s built-in Zygisk implementation before installing NeoZygisk.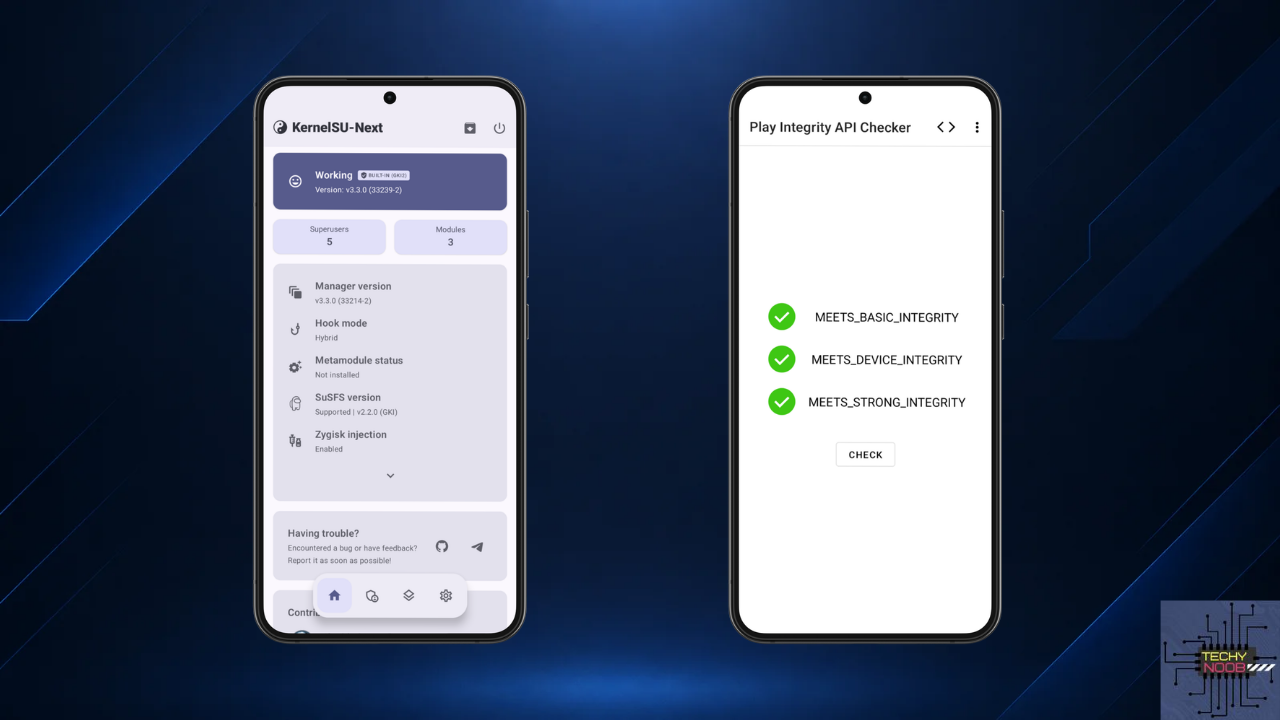
Installing the Core Modules
Before starting, download the required ZIP files and keep them somewhere accessible in your device’s internal storage.
Open your root manager and install the modules one at a time.
After installation, reboot the device if required by the module configuration.
In the demonstration, the four main modules are already installed and active through KernelSU.
If you’re using a different root manager, the exact interface will obviously look different, but the overall concept remains the same: install only the modules required for your particular configuration and avoid combining competing implementations of the same functionality.
KernelSU and Magisk Differences
The configuration isn’t completely identical between KernelSU and Magisk.
On KernelSU, the modules are managed through the KernelSU environment.
For Magisk users, the script specifically recommends turning off the built-in Zygisk option before using NeoZygisk.
The video also includes the KSUWEB application for accessing module WebUI interfaces more conveniently when working with the KernelSU setup.
If you’re following the guide, make sure you’re applying instructions intended for your root solution rather than blindly copying every setting.
Exploring Integrity Box
Once the modules are installed, the next step is configuring Integrity Box.
The application provides several sections for managing the integrity configuration.
Inside Integrity Hub, the video demonstrates options such as:
- Manage Targets
- Repair Mode
- Module Settings
- Set Profile
Manage Targets allows you to control which applications are targeted by the configuration, while Repair Mode is intended to help recover from unexpected integrity problems.
Set Profile provides different device-profile options.
The important point here is that you don’t necessarily want every application treated identically. Application-specific configuration can be useful when troubleshooting compatibility.
Spoofing Hub
Integrity Box also includes a section called Spoofing Hub.
The video demonstrates several tools within this section, including:
Per App Spoofing — intended for isolated application-specific configuration.
Play Integrity — focused on Google’s Play Integrity framework.
Prop Spoofing — used to dynamically modify system build properties.
ROM Spoofing — intended to mask characteristics associated with custom firmware.
These options are part of the broader configuration used in the demonstration to change how the device presents certain software characteristics.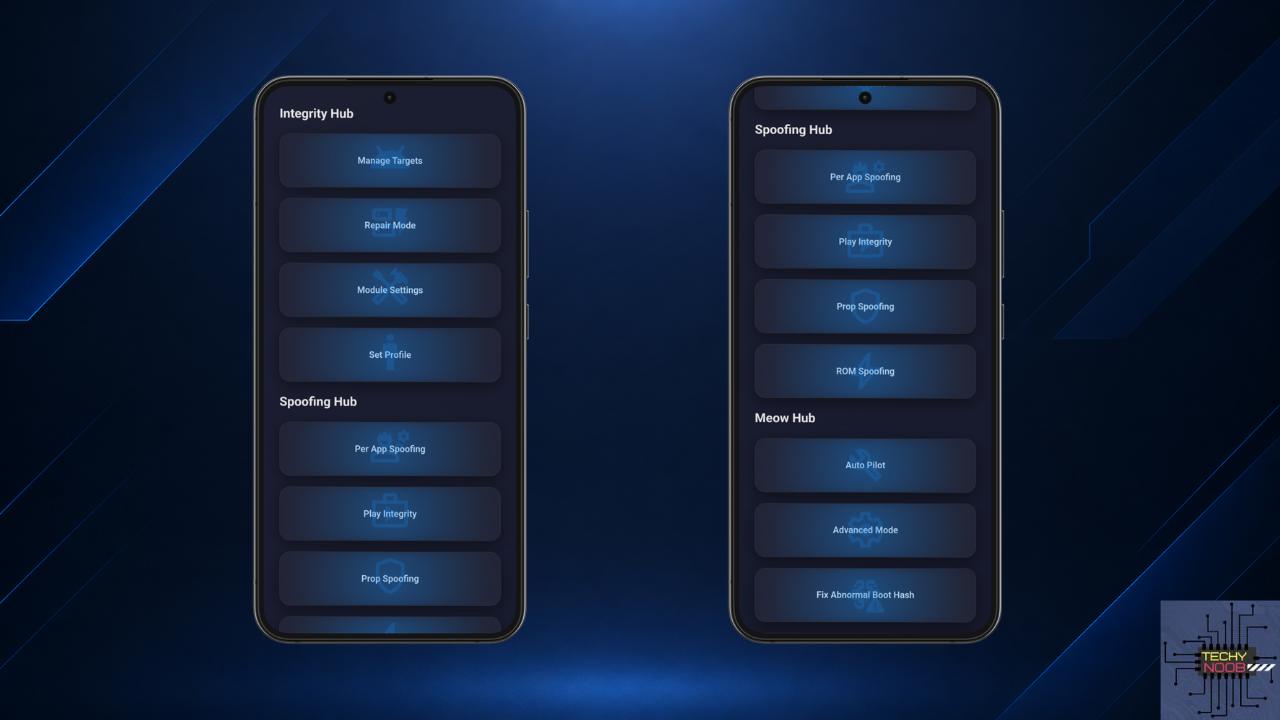
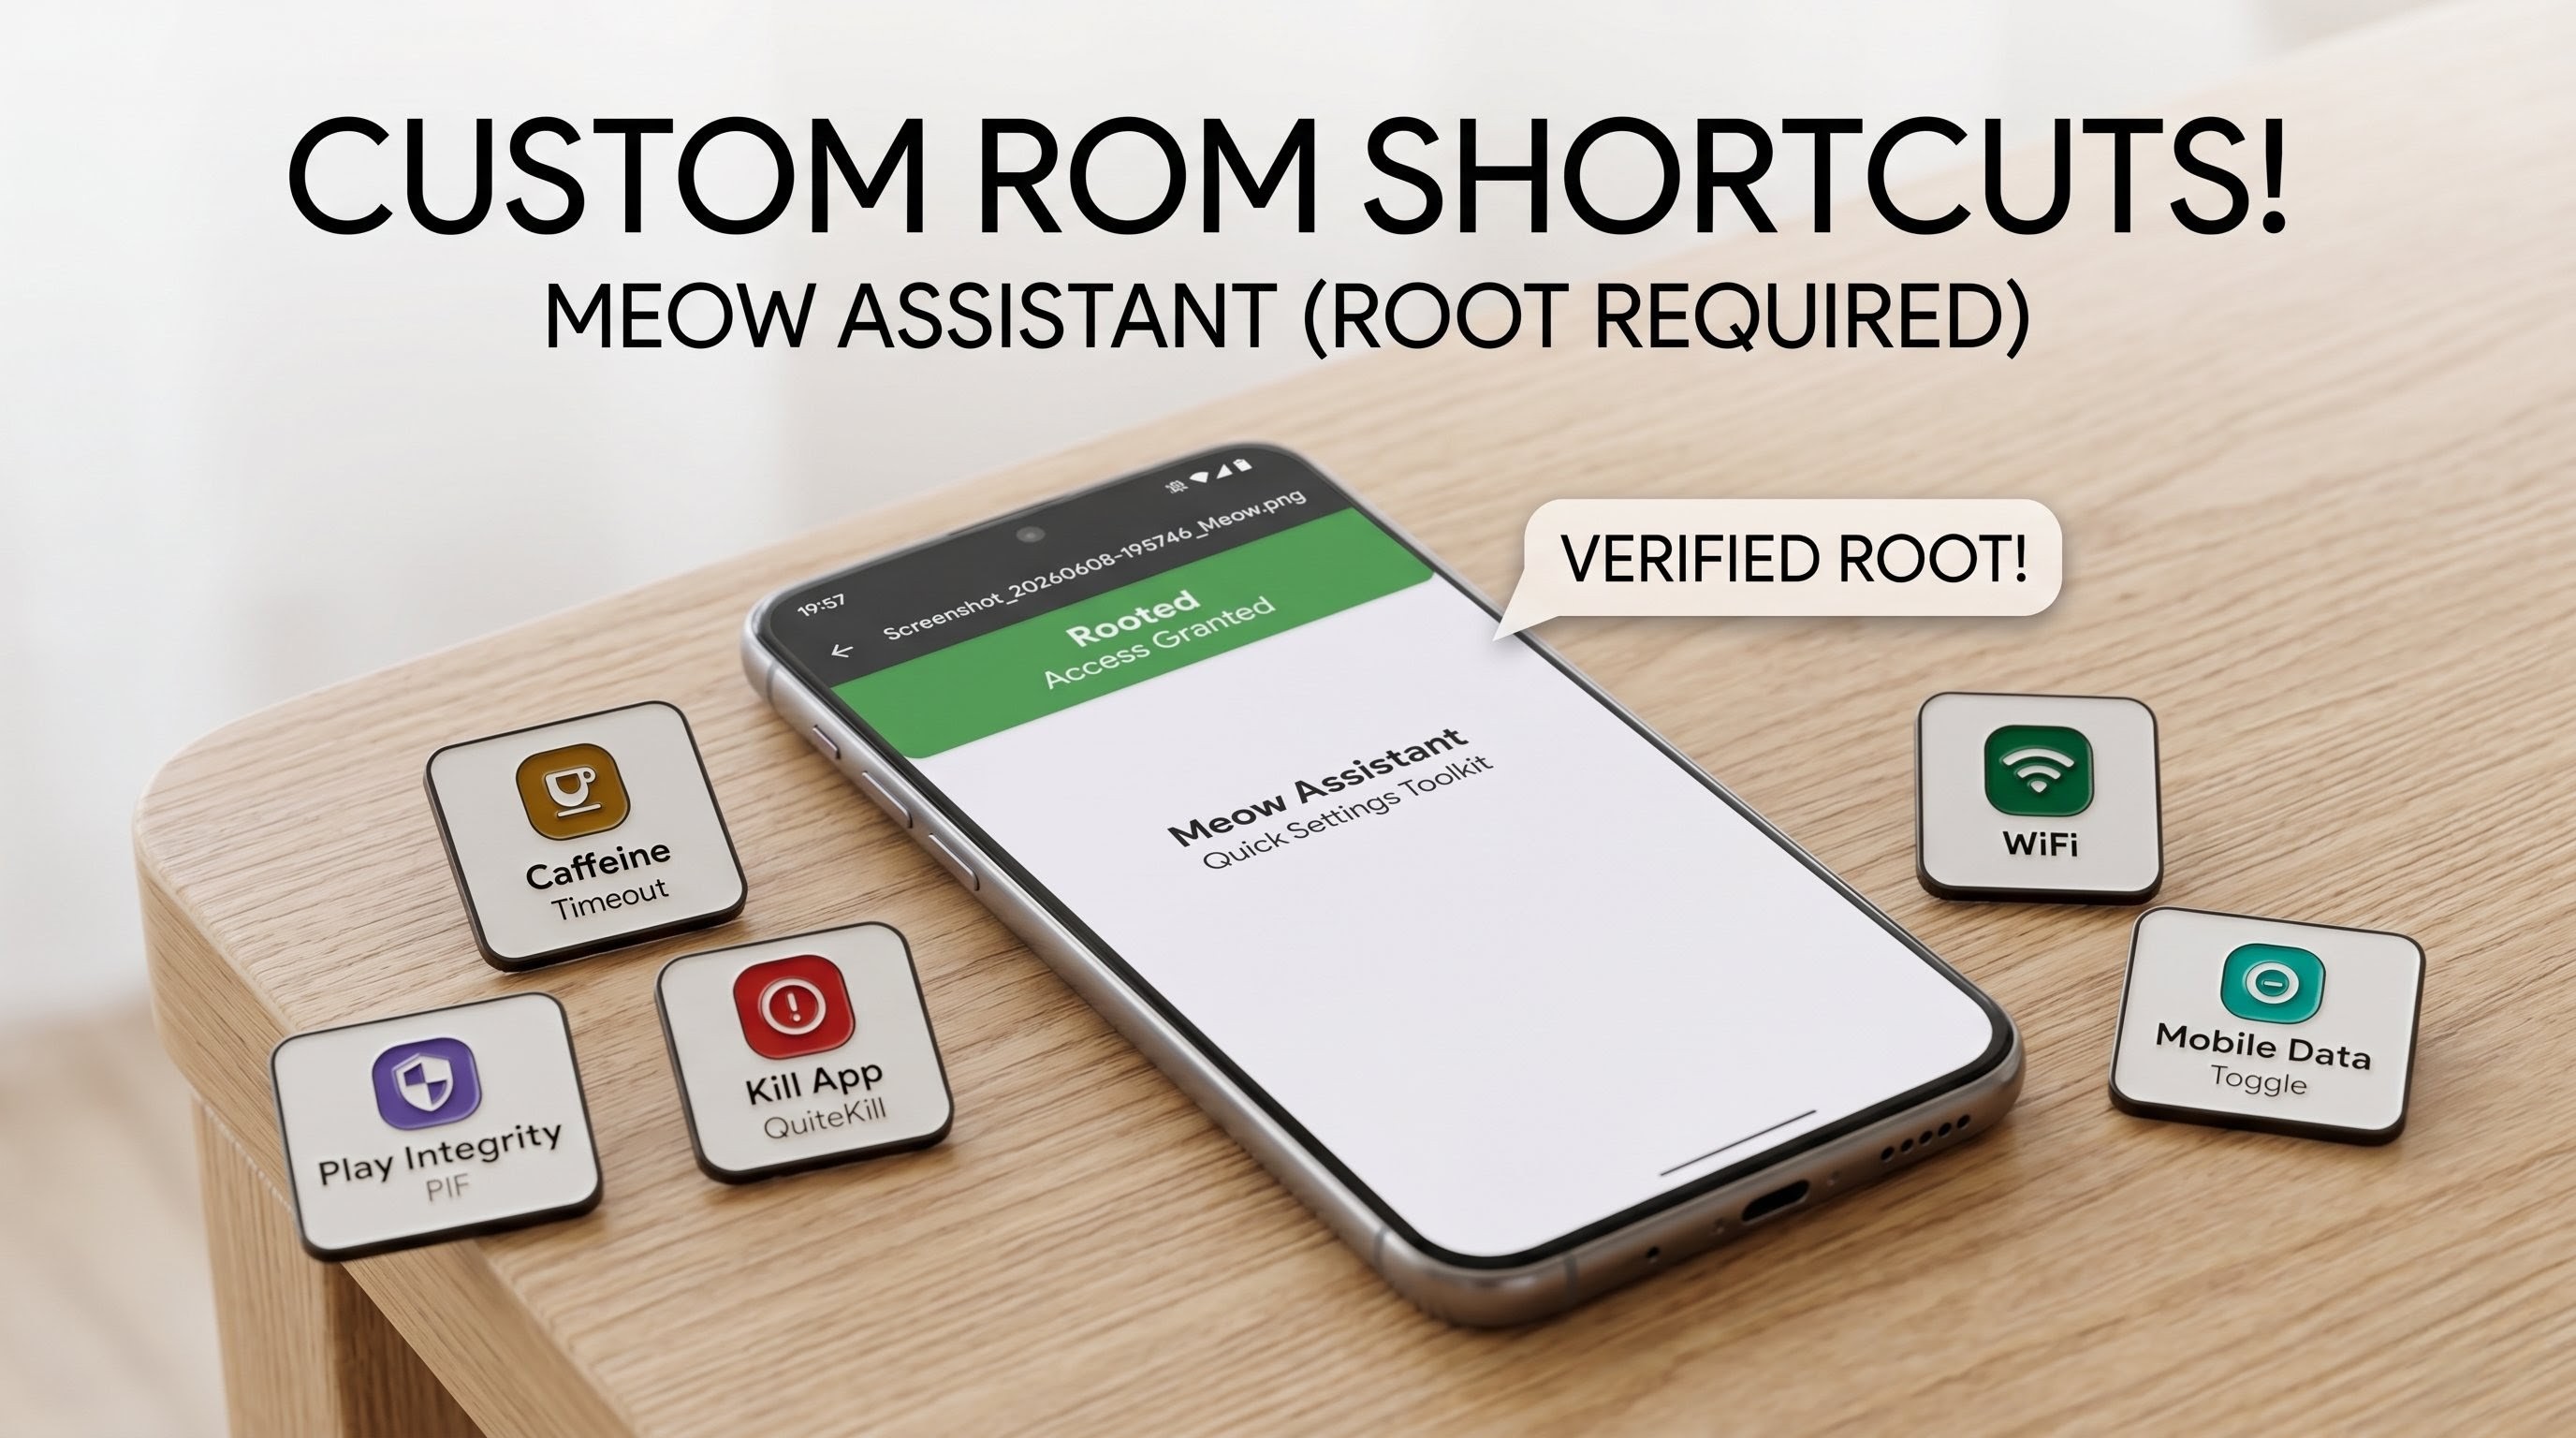
Meow Hub
Another section shown in the interface is Meow Hub.
This includes options such as:
- Auto Pilot
- Advanced Mode
- Fix Abnormal Boot Hash
Auto Pilot is intended to automate parts of the configuration, while Advanced Mode provides more granular control.
The Fix Abnormal Boot Hash option is designed to address verified-boot hash mismatches.
If you’re new to root modifications, this is one area where I would recommend changing settings carefully rather than enabling every available option.
More configuration doesn’t automatically mean better results.
Checking Play Protect Certification
After the modules have been configured, the video moves to the Google Play Store.
Open the Play Store and go to:
Settings → About
Then check the Play Protect certification status.
In the demonstration, the device changes from an uncertified state to showing as certified after the configuration is applied.
This is a useful secondary check because it shows how Google’s Play Store is viewing the device after the changes.
However, Play Protect certification and Play Integrity aren’t exactly the same thing, so one successful check shouldn’t automatically be interpreted as proof that every application will accept the device.
Why Integrity Results Can Change
One of the biggest things to remember with this type of setup is that integrity results aren’t necessarily permanent.
Google can change its verification systems, applications can introduce additional checks, and new Android releases can change how root modifications interact with the operating system.
That’s particularly relevant when using beta or development Android builds.
The demonstration uses Android 17 QPR1 Beta 8, which means the exact behaviour shown in the video is tied to a particular software environment.
If you’re using a different Android release, you may need different configuration or encounter different results.
YouTube Full Video:
Don’t Assume Every Banking App Will Work
Passing Play Integrity doesn’t necessarily mean every banking or financial application will automatically work.
Individual applications can implement their own security checks in addition to Google’s APIs.
Some may inspect the bootloader state, detect root-related changes, verify their own environment or use additional anti-tampering mechanisms.
So it’s better to think of Play Integrity as one part of application compatibility, not a universal switch that guarantees every security-sensitive application will accept a rooted device.
Rooting and Security Trade-Offs
There’s also a broader security consideration.
Root access gives you much more control over Android, but it also means applications granted elevated privileges can potentially make changes that aren’t possible on a stock device.
For that reason, you should be selective about which modules you install and which applications receive root access.
Download modules only from sources you trust, verify the project and release you’re using, and keep backups of important data before making major system changes.
If something goes wrong, having a known-good recovery path is much more valuable than trying random combinations of root modules.
Download Links
The download resources supplied for this video are:
These are the download links supplied for the video. Before installing any root module, verify that the version is appropriate for your Android build and root solution.
Credits
The following developer/project credits were supplied with the video:
Final Thoughts
The configuration shown here demonstrates one approach to dealing with Play Integrity on a rooted Android device.
The setup combines Integrity Box, Zygisk Assistant, NeoZygisk and Tricky Store, with SUSFS used as an optional addition.
On the Pixel 6 used in the demonstration, the configuration results in successful Basic, Device and Strong Integrity checks, followed by a Play Protect certification result showing the device as certified.
However, don’t treat those results as a permanent guarantee.
Google’s integrity systems can change, and different phones, Android versions and applications can behave differently.
If you’re already using a rooted Android device and want to experiment with this type of configuration, the safest approach is to understand what each module does, make one change at a time and keep a backup before modifying your system.
And if your primary reason for doing this is to regain compatibility with a particular application, check that application’s own requirements as well rather than assuming a successful Play Integrity result will solve every compatibility issue.
Test Device: Google Pixel 6
Android: Android 17 QPR1 Beta 8
Root: KernelSU
Core Modules: Integrity Box, Zygisk Assistant, NeoZygisk and Tricky Store
Optional: SUSFS
Discussion (0)
Post a Comment
No comments yet. Be the first to share your thoughts!