
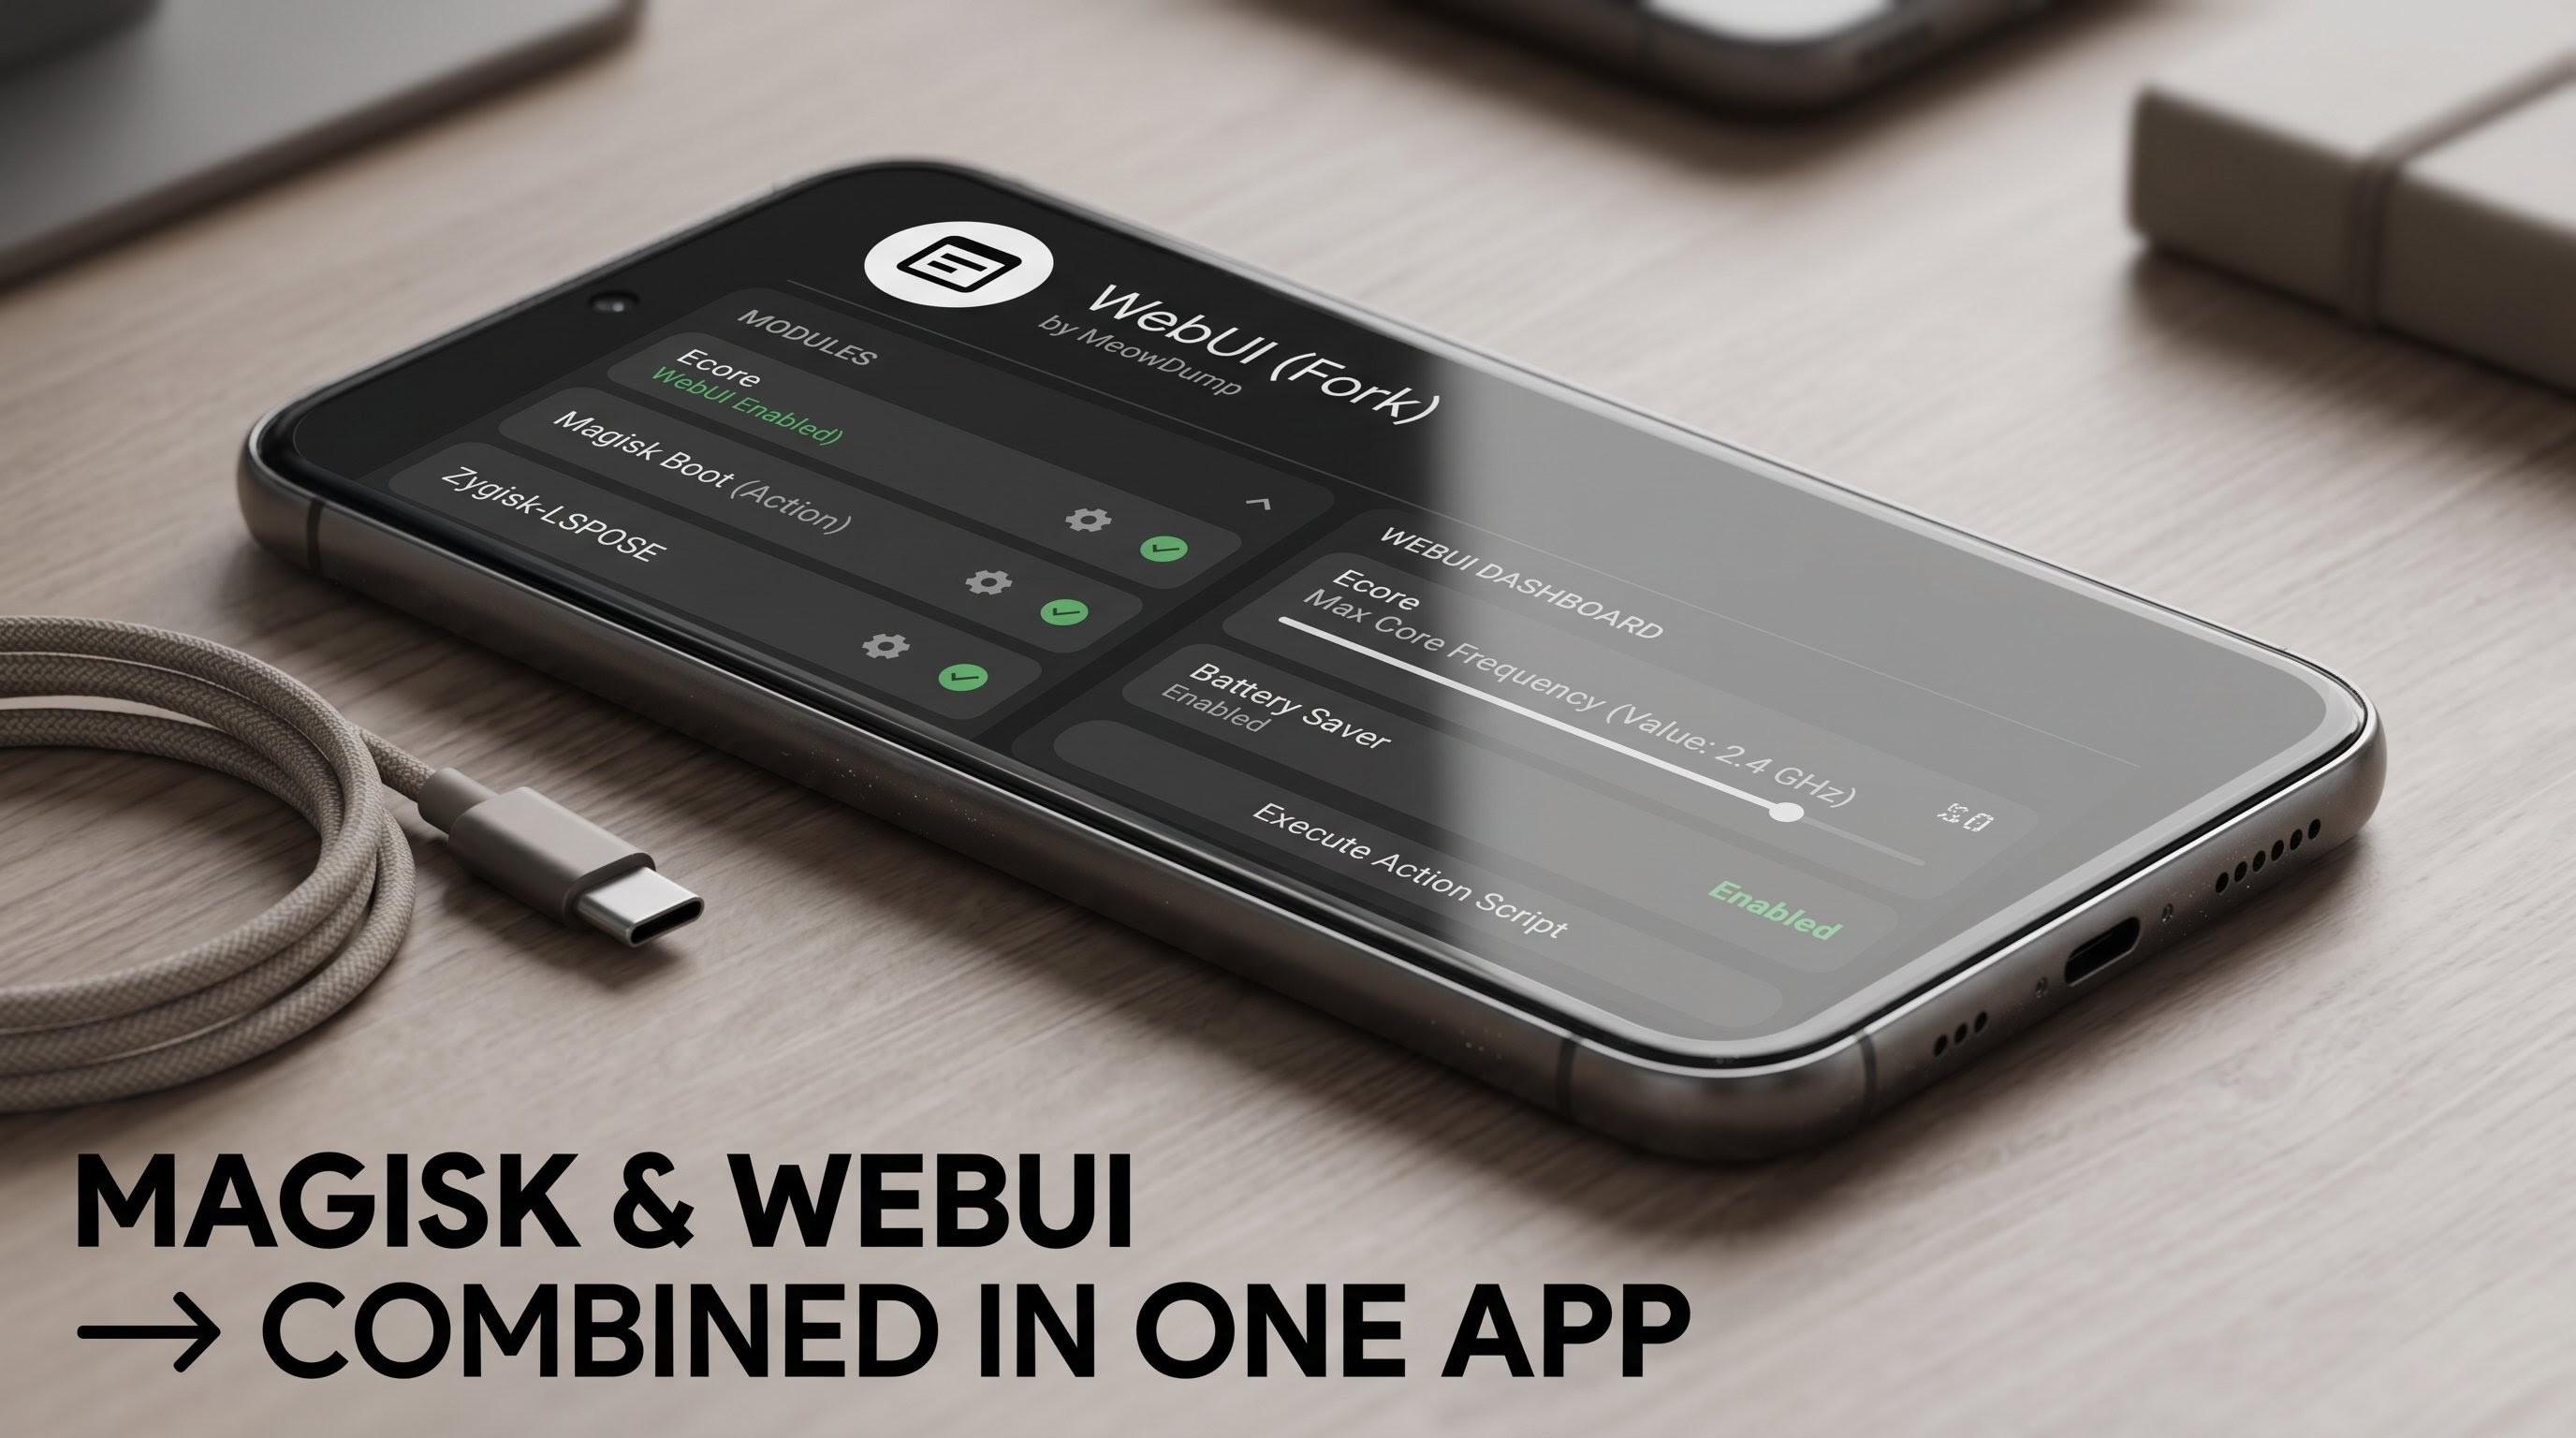
Android customization has always been driven by the desire for absolute control over our devices. For power users and system tinkerers who utilize root frameworks, modules are the ultimate tool to squeeze out peak performance, adjust battery profiles, or inject system-level tweaks. However, as the ecosystem has matured, the management tools surrounding these modifications have occasionally felt fragmented.
If you frequently interact with kernel-level adjustments or advanced system tweaks, you are likely familiar with the constant back-and-forth balancing act between separate interfaces. Thankfully, open-source developers frequently step up to address these minor workflow friction points. A prime example of this is the personal KSU WebUI fork created by developer MeowDump, designed to bring unparalleled convenience to advanced module management.
The Problem: The App-Switching Headache
To understand why this fork is such a welcome addition to a power user's toolkit, it helps to look at the traditional workflow. Normally, managing your system modifications and interacting with their custom web interfaces requires two completely separate environments:
- The Root Manager: You open your main root management app whenever you need to flash a new ZIP file, toggle an option, execute a raw action script, or completely remove a faulty module.
- The WebUI Companion: If a specific module features a dedicated web dashboard to fine-tune its internal configurations (such as adjusting CPU frequencies, custom thermal profiles, or audio drivers), you have to close your root manager, find your dedicated WebUI app, and open it up.
While this system works, jumping between multiple applications just to adjust a single modification becomes tedious over time. MeowDump’s KSU WebUI fork addresses this exact issue by elegantly merging these common tasks into a single, unified environment.
What is MeowDump's KSU WebUI Fork?
This project is a tailored, personal modification of the KernelSU Web Interface. Its core philosophy is simple: bring module management and WebUI control under one roof.
Instead of treating the container app and the module's interactive dashboard as two isolated entities, this application acts as a comprehensive command center. It offers a clean, lightweight, and incredibly responsive interface that simplifies how you interact with your device's deep-level modifications.
Watch the full tutorial here on our Youtube channel:
Step-by-Step Installation and Setup Guide
Setting up this unified dashboard on your device is incredibly straightforward. Below is the precise step-by-step process to get it up and running.
Step 1: Locate the Application Package
First, ensure you have downloaded the latest official release package provided by the developer. Because this is a specialized system utility, it is distributed as a standard Android APK file. Open your preferred local file manager, navigate to your downloads directory, and verify the file is ready. The package is remarkably lightweight, meaning it won't clutter your internal storage.
Step 2: Install the App
Tap on the downloaded APK file. If your file manager doesn't have permission to install external applications, your system will prompt you to grant it. Once approved, tap Install via the system package installer. The process takes only a brief moment to complete.
Step 3: The Initial Launch
Upon opening the application for the very first time, you will be greeted by a highly minimalist, uncluttered user interface. If your device does not have any active, compatible modules flashed yet, the main dashboard will appear entirely empty. This is perfectly normal—the application is dynamically waiting to detect compatible interfaces.
Step 4: Adding a Compatible Module
To see the true power of this combined interface, a module featuring a WebUI needs to be active on the system. For instance, flashing a widely used performance utility like the Ecore module provides the perfect test case. Install your chosen module through your standard root framework backend and allow the system to fully register the modification.
Step 5: Explore the Unified Dashboard
Once the module is active, return to the KSU WebUI fork app. You will immediately notice that the once-empty interface has completely changed. The app automatically detects the newly added module and populates it directly on your home screen.
From this single panel, you can now interact directly with the module's custom WebUI, tweak parameters on the fly, and manage its system status without ever needing to jump back and forth between different apps.
Final Thoughts
MeowDump’s personal KSU WebUI fork is an excellent reminder of why the Android development community thrives. By identifying a minor yet persistent annoyance—the constant switching between management utilities and configuration dashboards—and engineering a clean, single-app solution, this tool greatly optimizes the user experience for Android enthusiasts.
If you are looking to declutter your app drawer and streamline how you monitor and adjust your system modifications, this utility is well worth adding to your setup.
Subscribe to our YouTube channel for daily Android tips, tricks, and tutorials: TechyNoob


Discussion (0)
Post a Comment
No comments yet. Be the first to share your thoughts!